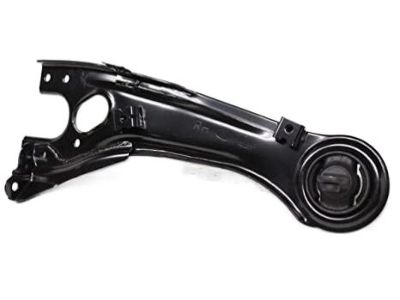
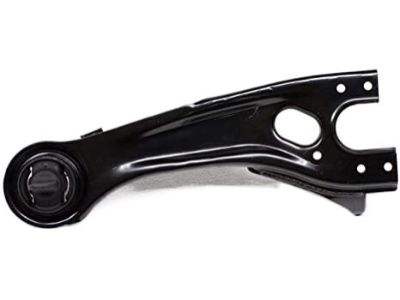
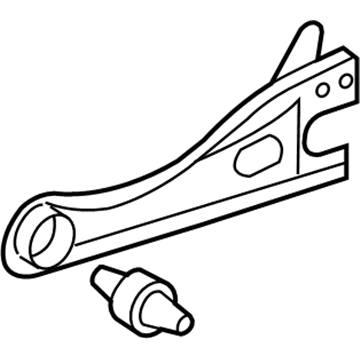
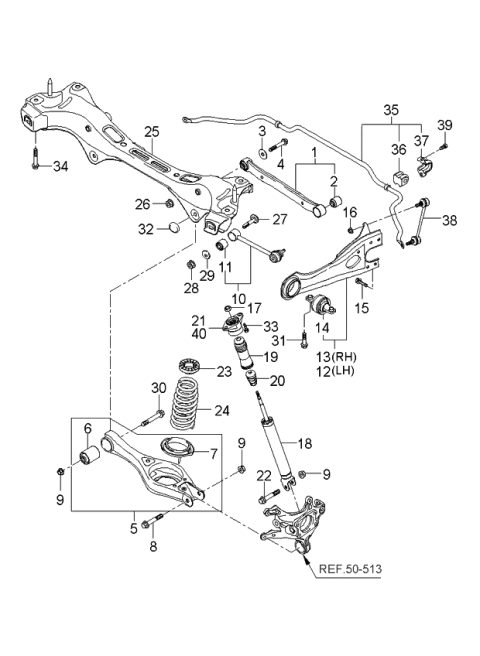
When installing any rear suspension arms, tighten all bolts hand-tight only, move the suspension to its normal ride-height angle and position using a floor jack, then fully tighten the bolts. Begin by loosening the rear wheel lug nuts, raising the rear of the vehicle, and securely supporting it on jackstands before removing the rear wheel for better access to the control arms. For models from 2001 to 2006, unbolt the outer end of the control arm from the hub assembly, remove the pivot bolts from the inner end, and lift it out, reversing the process for installation while ensuring the rear wheel alignment is checked and adjusted if necessary. For models from 2006.5 and later, disconnect the parking brake cable, brake fluid hose, and wheel speed sensor from the suspension, support the rear hub carrier with a floor jack, disconnect the lower end of the shock absorber, and remove the rear end of the trailing arm by removing its pivot bolt. Next, remove the rear exhaust system section, support the entire rear crossmember with a floor jack, remove the four crossmember bolts, and detach the upper balljoint from the hub carrier using a balljoint/tie-rod end removal tool. Lower the rear crossmember for access to the upper control arm pivot bolts/nuts, remove them, and lift out the upper control arm, reversing the process for installation while checking the rear wheel alignment. For the lower arm on models from 2001 to 2006, use a balljoint tie-rod end removal tool to break the balljoint free, pull the control arm and balljoint out of the hub carrier, remove the pivot bolt, and install in reverse order while checking alignment. For models from 2006.5 and later, remove the coil spring assembly, mark the position of the camber adjuster to the subframe, remove the pivot bolts from each end of the lower control arm, and lift it out, again reversing the process for installation and checking alignment. For the trailing arm, mark the position of the camber adjuster to the subframe, remove the pivot bolts, and lift it out, following the same installation process and alignment check. Finally, for the assist arm, remove the pivot bolt from each end and lift it out, completing the installation in reverse order and ensuring alignment is checked.
Posted by KiaPartsNow Specialist 
