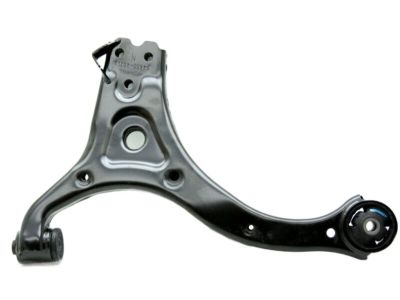
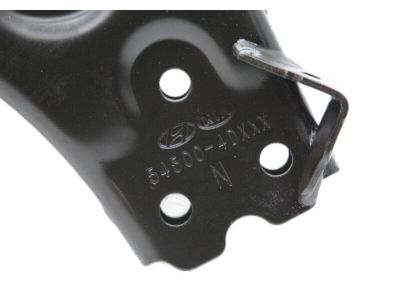
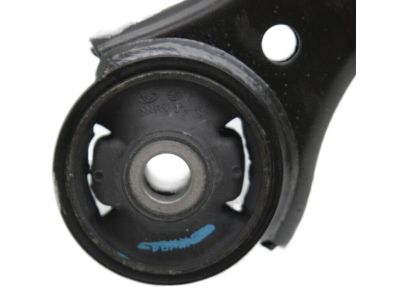
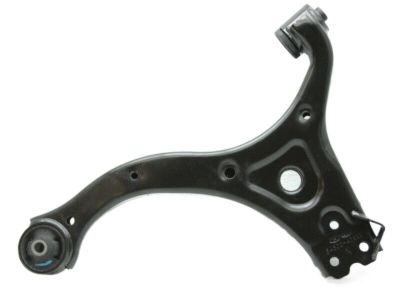
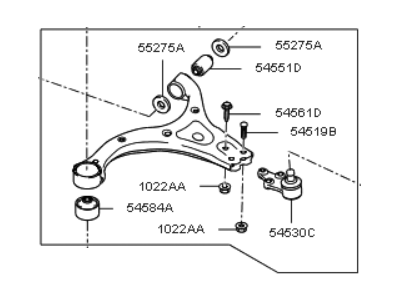
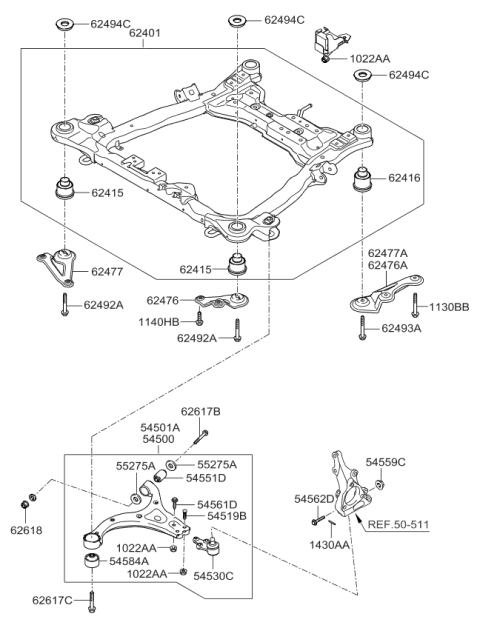
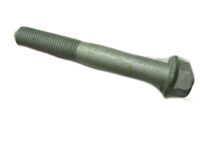
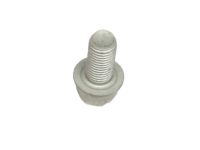
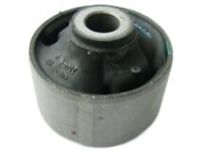
Only models from 2005 and earlier are equipped with tension arms. To remove the control arm, first loosen the wheel lug nuts, raise the front of the vehicle, and support it securely on jackstands before removing the wheel. For 2005 and earlier models, detach the stabilizer bar link from the control arm, then remove the cotter pin (if equipped) and the balljoint-to-steering knuckle pinch bolt, separating the balljoint from the steering knuckle while being careful not to damage the balljoint boot. Next, remove the tension arm-to-control arm mounting nuts/bolts and the control arm-to-subframe nut/pivot bolt to take out the control arm. For models from 2006 and later, remove the front bolt attaching the control arm to the subframe, followed by the rear nut/pivot bolt to detach the control arm. Inspect the control arm for straightness, replacing it if bent, and check all bushings for cracks, distortion, and tears, taking the assembly to an automotive machine shop for replacement if necessary. For installation, position the control arm in the subframe and install the bolts and nuts without tightening them yet. For 2005 and earlier models, install the tension arm-to-control arm bolts and nuts without tightening. Reinstall the balljoint to the steering knuckle and tighten the pinch bolt/nut to the specified torque. Use a floor jack under the control arm, raise it to simulate normal ride height, and then tighten the control arm bolt(s) and tension arm nuts/bolts for 2005 and earlier models to the specified torque. Finally, install the wheel and lug nuts, lower the vehicle, and tighten the lug nuts to the specified torque, ensuring the front wheel alignment is checked and adjusted if necessary. For the tension arm on 2005 and earlier models, loosen the wheel lug nuts, raise the front of the vehicle, and support it securely on jackstands before removing the wheel. Remove the tension arm-to-control arm mounting nuts/bolts, mark the relationship of the tension arm nuts to the tension arm, unscrew the forward tension arm nut, and detach the tension arm and bushings from the subframe. Installation is the reverse of removal, aligning the marks on the tension arm nuts with the mark made on the arm, then tightening the forward nut to the specified torque. Finally, install the wheel and lug nuts, lower the vehicle, and tighten the lug nuts to the specified torque, ensuring the front wheel alignment is checked and adjusted if necessary.
Posted by KiaPartsNow Specialist 
