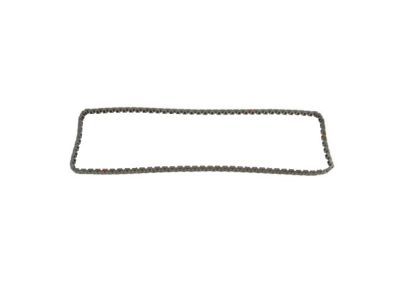
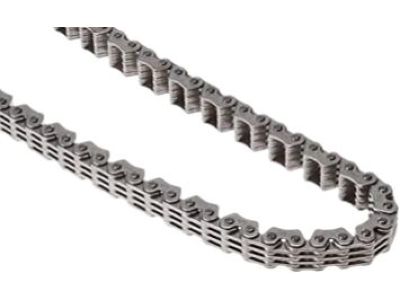
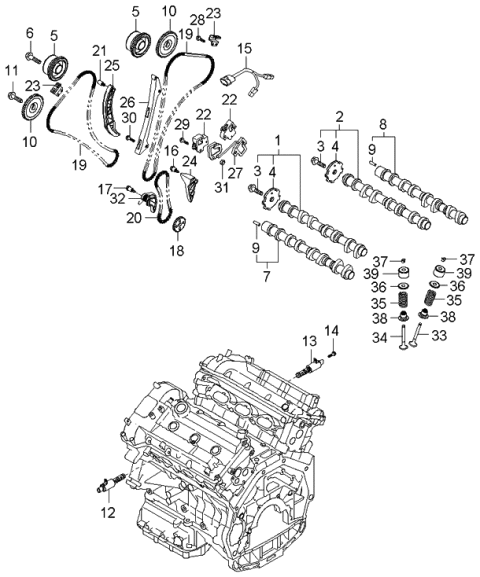
The timing system is very much sophisticated, and if the activities are wrongly done, then one will have to deal with very harsh consequences whereby the engine of the car is heavily damaged; thus, this section should only be worked upon by very skilled and experienced personnel; any person who is having some sort of doubt in him should seek the help of a professional. Start by safely dropping the pressure off the fuel system and the detachment of the cable of the negative terminal of the battery. Turn the number one piston to TDC on the compression stroke, with the marks on the camshafts and the valve cover lined up and dowels on the camshaft sprockets up. Disconnect the drive belt and tensioner, idler pulley, and alternator; the air filter housing inlet duct and the air filter assembly. Lift the car safely on jack stands and take off the lower part cover of the engine. Pull out the electrical connectors to the ignition coils, fuel injectors, and the camshaft position sensor and if possible pull out the high pressure fuel pump. Extract the PCV hose and take off ignition coils and plug the hole with the valve cover. Tap the crankshaft damper and pull it off, take off the water pump pulley and compressor bracket bolts, drain the engine oil and take off the oil pan mounting bolts and the oil pan. Love the engine, remove the engine mount, and take out the bolts of timing chain cover, putting bolts in the order. Check that the engine has returned to TDC for cylinder number one, perform this check aligning the crankshaft key with the relevant main bearing cap. Do not turn the crankshaft in a direction of piston and valve contact, if you decide to drive the vehicle while the timing chain is off. The access hole is to be found on the tensioner, the pawl must be lifted from the rack, the plunger must be pressed to remove the tensioner and chain guide. If the new chain is not to be fitted, mark the chain-to-sprockets relationship at TDC and then remove the timing chain and oil jet. Slide the crankshaft chain sprocket off and remove the camshaft sprockets if necessary and place the ID mark aligning with the respective mark on the block. Check all elements of the chain for wear and signs of damage; if those or other elements of the chain are bent or cracked, they should be replaced; also, it is advisable to replace the balance shaft chain if the timing chain is to be replaced. A minimum of 2 full crankshaft revolutions of the engine before starting it, attempting to note any resistance. Remove all the sealing surfaces with rubbing alcohol as it is recommendable not to use oil products. Replace the balance shaft chain if removed, crankshaft sprocket, and timing chain oil jet are then installed and now the mark on the crankshaft sprocket should face the 6 o'clock position. Fit the visor key-way into the crankshaft and main bearing cap mating surface, the mark on the camshaft should also align with that of the cylinder head. Place the scoring right side timing chain guide and use your tools to tighten the sprocket bolt to the desirable torque. Start the timing chain towards the crankshaft sprocket, then over the intake sprocket and then over the exhaust sprocket such that the red strip is lined up with the timing marks on the sprockets. Meanwhile, fit the inner tensioner and tighten the fasteners of this member to the torque prescribed by the manufacturer. Finalize all the timing marks checking the engine's two full revolutions. Use sealant to cover the sealing surface of the cover and then use the cover bolts and spin them in a diagonal manner. Reinstall the parts in that same order, fill the low places with oil and coolant, start the car's engine, and look for signs of leaking.
Posted by KiaPartsNow Specialist 
