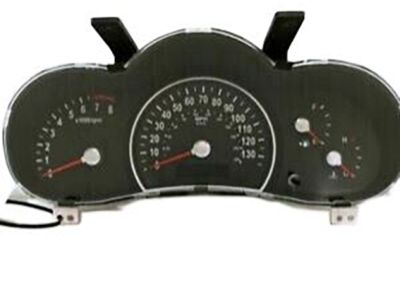
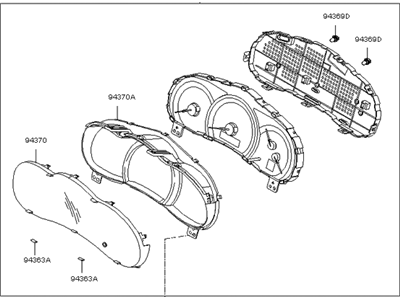
Disconnect the cable from the negative battery terminal. This procedure can be challenging for the home mechanic due to hidden fasteners, difficult angles, and numerous electrical connectors that need to be tagged and disconnected. It is advisable for only experienced do-it-yourselfers to attempt this task. During the removal of the instrument panel, make careful notes on how each piece is removed, its placement in relation to other components, and how it is secured. Noting the installation of each part beforehand will facilitate reassembly. The instrument panel is attached to the instrument panel cross bar, which must be removed to access all fasteners. Remove the steering wheel and column as a unit, all dashboard trim panels and glove boxes, the air conditioning and heater control assembly, the instrument cluster, radio, instrument panel speakers, and DVD player if equipped, and the front seats for easier access. Also, remove the center floor console, shifter knob, and disconnect the shift cable. Disconnect the wiring harnesses at each A-pillar and remove the retaining bolts and nuts from the front and sides of the instrument panel, noting that approximately 20 fasteners secure it to the cross bar. Disconnect the passenger's side air bag electrical connector and the mounting bolt, then, with assistance, carefully separate and remove the instrument panel from the vehicle. For the instrument panel cross bar, disconnect the electrical connectors to the supplemental restraint system control module, the A/C and heating wiring harness, and remove the bolts securing the A/C and heating housing to the cross bar. Disconnect the antenna harness, main vehicle harnesses, ground wire, and data link connector from the instrument panel. Remove the hood release cable handle and the cross bar mounting bolts and nuts. The cross bar is heavy, so have an assistant support it during removal and installation. Finally, with assistance, remove the instrument panel from the vehicle, and reinstallation follows the reverse order of removal.
Posted by KiaPartsNow Specialist 


