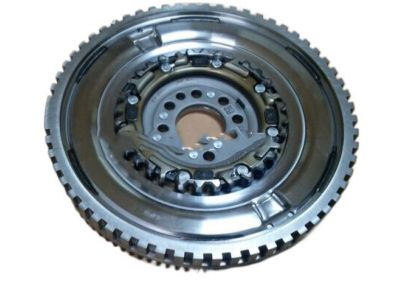
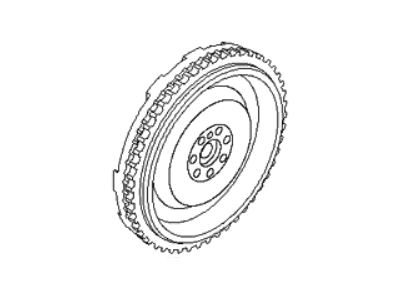
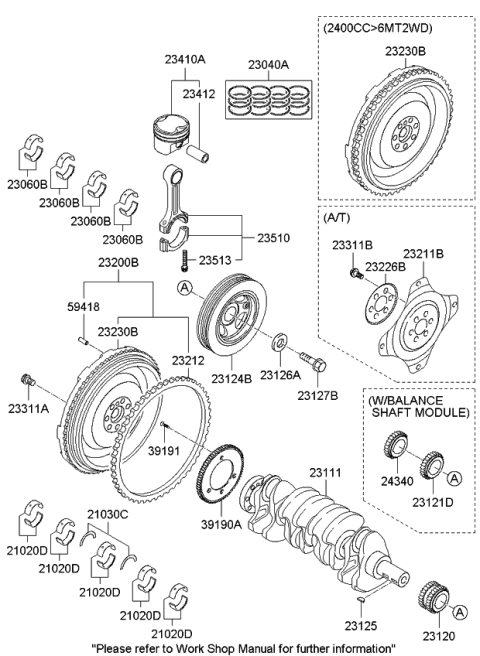
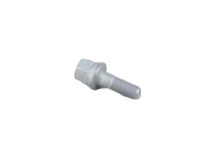
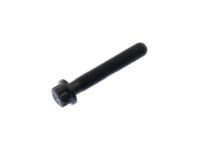
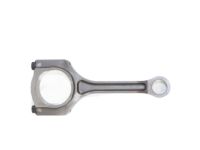
To remove the trans axle, first raise the vehicle and support it securely on jack stands, then proceed to remove the trans axle. For models with a manual trans axle, take off the clutch cover and clutch disc, and consider checking or replacing the clutch components and pilot bearing. Mark the relationship of the flywheel/drive plate and the rear plate or crankshaft to ensure correct reinstallation alignment later; if the crankshaft is turned, mark the flywheel/drive plate near one of the bolt holes. Next, remove the bolts securing the flywheel/drive plate to the crankshaft, using a screwdriver to jam the flywheel if it turns. Carefully take off the flywheel/drive plate from the crankshaft, and for automatic trans axle models, also remove the drive plate backing plate and adapter, noting the orientation of the adapter plates for reinstallation. Clean the flywheel to eliminate grease and oil, inspecting it for cracks, rivet grooves, burned areas, and score marks, with light scoring removable using emery cloth. Check for cracked and broken ring gear teeth, and lay the flywheel on a flat surface to check for warpage, taking it to an automotive machine shop for resurfacing if necessary. Clean and inspect the mating surfaces of the flywheel/drive plate and crankshaft, replacing the crankshaft rear seal if it is leaking before reinstalling the flywheel/drive plate. Remove any thread sealant from the crankshaft flywheel bolt holes and bolts, replacing any bolt if all thread sealant cannot be removed. For manual trans axle models, position the flywheel at the crankshaft, and for automatic trans axle models, position the adapter, drive plate, and backing plate at the crankshaft, ensuring alignment with the marks made during removal. Apply thread sealant to the threads of any bolts except for new ones before installing them. Use a screwdriver to keep the flywheel/drive plate from turning while tightening the bolts in a criss-cross pattern, working up to the final torque in three or four steps. The remainder of the installation follows the reverse order of the removal process.
Posted by KiaPartsNow Specialist 
