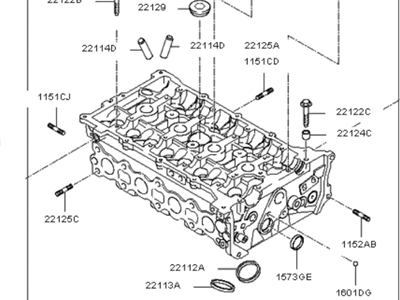
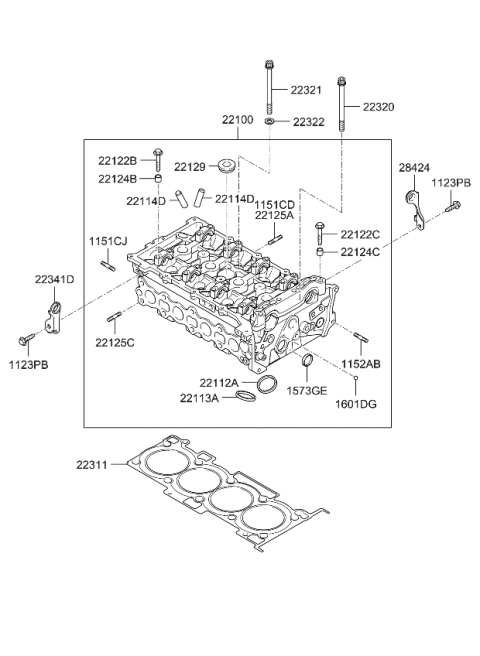
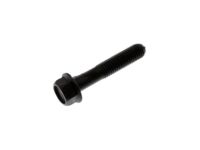
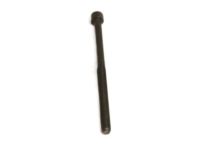
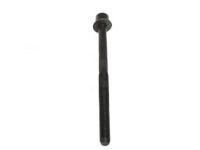
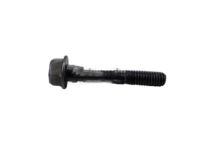
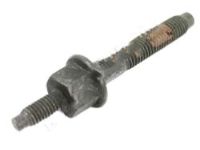
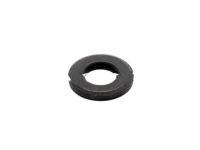
It is however recommended that all of the cylinder head bolts should be replaced with a new one. Start with the draining of the fuel pumps pressure gauge, and then it is important to remove the cable of the battery's negative end. The components involved here are the intake manifold, the exhaust manifold, the engine coolant; dismantle the intake manifold and the exhaust manifold then drain the engine coolant. Subsequently take out the camshafts and afterwards, label as well as disconnected the electrical connections in the cylinder head. Remove the clips and disconnect the upper coolant hoses from the cylinder head, and the lower hoses if you are changing them, seeing that the water temperature control unit, on some 2006 and later models, can be set aside at this time. When you feel that the cylinder head bolts have become quite tight, loosen them again but in a reversal sequence to avoid the cylinder head from getting warped or crack while releasing the bolts, loosen them by a quarter turn at a time, until you can remove the bolts by your bare hands. With help, remove the cylinder head from the engine block by placing the elbow against the HE end of the transaxle and probably prying apart. Further dismantle the number of external parts of the cylinder head for cleansing and assessment if necessary. With a measure, take the straightedge and run across the gasket surfaces of each head; to check clearance, use a feeler gauge; if it is higher than the company's measurements, the head is surfaced or replaced. Look at the flat surfaces of the intake and exhaust manifold to compare them to the heads and check for warpage; also, look around the intersections of each head and the cylinder walls for signs of cracking and coolant leakage around the valve seats. Make certain that the surface of the cylinder head and block come in contact with each other free of contaminants. Strip the carbon and all the old gasket material off with a gasket scraper and clean the covering surfaces with the brake system cleaner without allowing oil to come into contact with the surfaces. Pack the cylinders with clean shop rags so that it does not allow any particles to get into the cylinders and use vacuum to suck all materials that have fallen into the cylinders with care so that you do not scratch the aluminum cylinder head. Make sure that block and cylinder head mating surfaces are smooth, free from nicks, deep scratches, etc; Fine scratches should be filed off and deep scratches or pits may have to be machined. Chase the threads in the cylinder head bolt holes with a tap of the proper size ensuring that there is no remnants of the tap left by blowing the holes with compressed air. Replace the turned out componets from the cylinder head, align the new gasket over the dowel pins in the block and ensure it is properly oriented. Place the cylinder head back on the block as much as possible gently to avoid any harm to the gasket. When the time comes to put in the new cylinder head bolts, then one should use a little engine oil on the threaded areas and below the head of the bolts. The bolts should be placed and screwed until the non-thread part is flush with the surface, then they should be screwed even more following a pattern until they reach the required torque. The remaining directions as to the installation process are the opposite of the removal process. An oil change, with the filter being replaced, as well as a coolant refill, engine run, and leak check.
Posted by KiaPartsNow Specialist 
