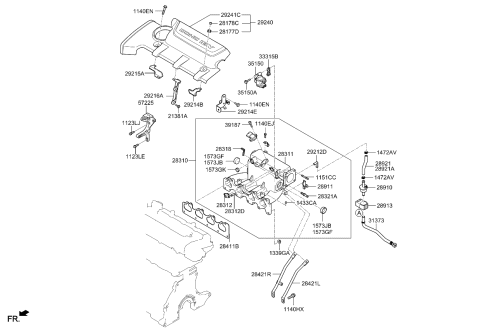
To remove the intake manifold, first relieve the fuel system pressure and disconnect the cable from the negative battery terminal. If equipped, remove the engine cover, air intake duct, and the upper half of the air filter housing. Disconnect the accelerator cable, cruise control cable, and throttle cable from the throttle body, then unbolt the cable bracket from the intake plenum. Clamp off the coolant hoses leading to the throttle body, loosen the clamps, and disconnect the hoses. Label and detach all wire harnesses, control cables, and hoses connected to the intake manifold. For 1.6L SOHC models, remove the alternator and its bracket. Remove the fuel rail and injectors, then raise the vehicle and support it securely on jack stands. Remove the engine splash shields and, working under the intake manifold, remove the intake manifold support bracket if applicable. While underneath, remove the bolts/nuts securing the bottom of the intake manifold to the cylinder head, then remove the upper mounting bolts/nuts and the intake manifold itself. On models with a two-piece manifold, separate the upper from the lower on the bench. For installation, carefully use a gasket scraper to remove old gasket material and clean the mating surfaces, ensuring no gouging occurs. If the gasket was leaking, have the manifold checked for warpage and resurfaced if necessary. Install a new gasket, position the manifold on the head, and install the nuts/bolts, tightening them in three or four equal steps from the center outwards while alternating upper and lower fasteners to avoid warping. Reinstall the remaining parts in reverse order, check the coolant level, and add as necessary. Before starting the engine, check the throttle linkage for smooth operation, then run the engine to check for coolant and vacuum leaks. Finally, road test the vehicle to ensure proper operation of all accessories, including the cruise control system if equipped.
Posted by KiaPartsNow Specialist 


