×
- Hello
- Login or Register
- Quick Links
- Live Chat
- Track Order
- Parts Availability
- RMA
- Help Center
- Contact Us
- Shop for
- Kia Parts
- Kia Accessories

My Garage
My Account
Cart
Genuine Kia Sedona Wheel Hub
Wheel Axle Hub- Select Vehicle by Model
- Select Vehicle by VIN
Select Vehicle by Model
orMake
Model
Year
Select Vehicle by VIN
For the most accurate results, select vehicle by your VIN (Vehicle Identification Number).
8 Wheel Hubs found

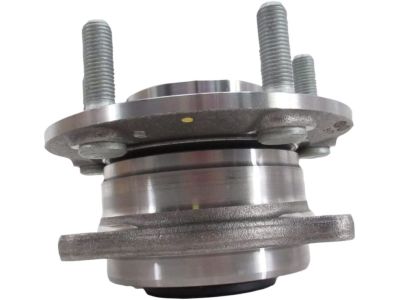
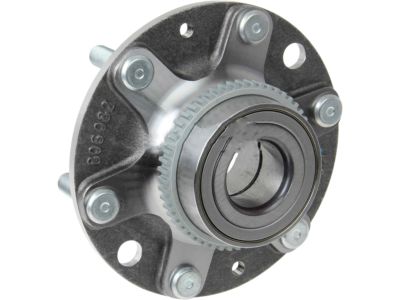
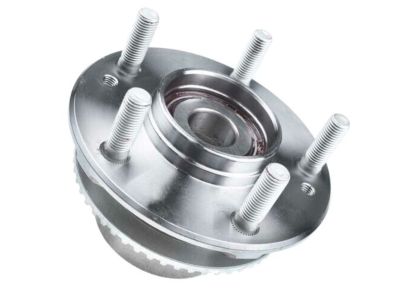
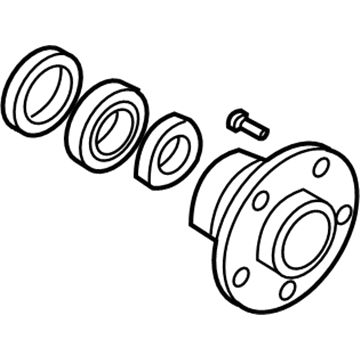
Kia Sedona Front Wheel Hub Assembly
Part Number: 51750A9000$368.28 MSRP: $539.37You Save: $171.09 (32%)Ships in 1-3 Business Days
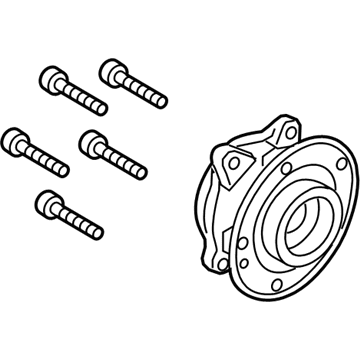
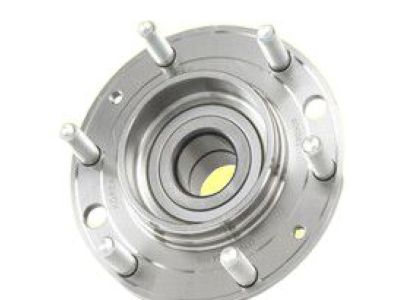
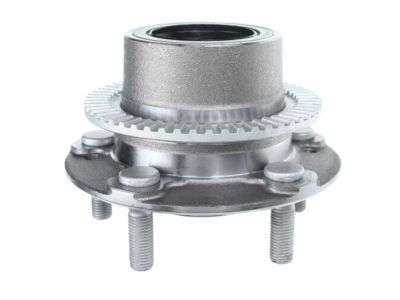
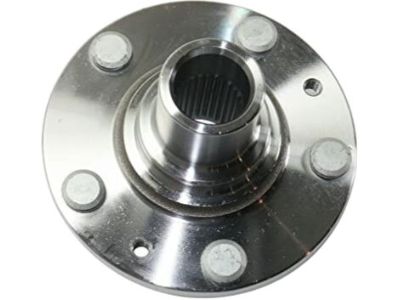
Kia Sedona Rear Wheel Hub Assembly
Part Number: 52750A9000$336.71 MSRP: $493.14You Save: $156.43 (32%)Ships in 1-3 Business Days
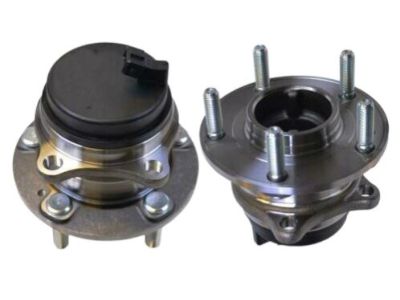
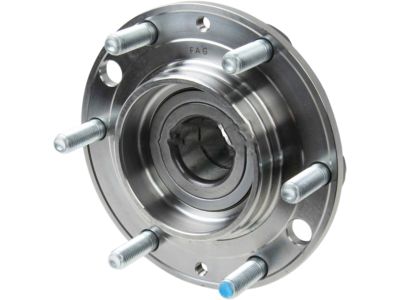
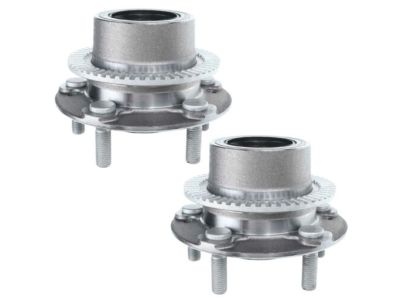
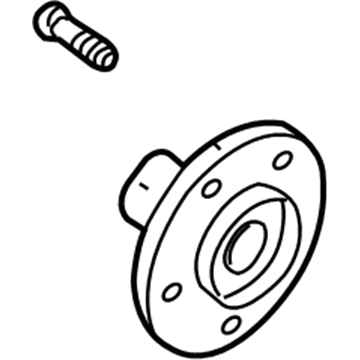
Kia Sedona Rear Wheel Hub Assembly
Part Number: 527104D100$330.00 MSRP: $483.30You Save: $153.30 (32%)Ships in 1-3 Business Days
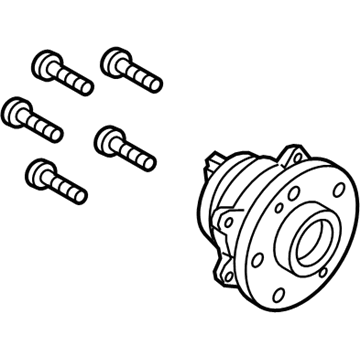
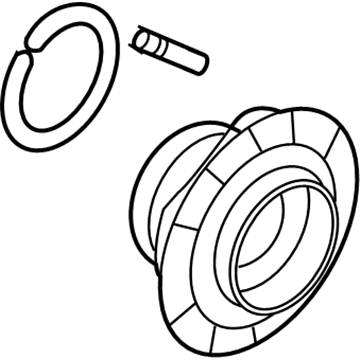
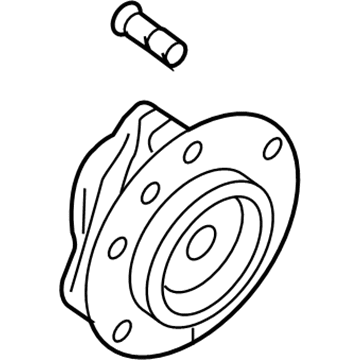
Kia Sedona Rear Wheel Hub Assembly
Part Number: 0K55326060C$73.97 MSRP: $106.74You Save: $32.77 (31%)Ships in 1-3 Business Days
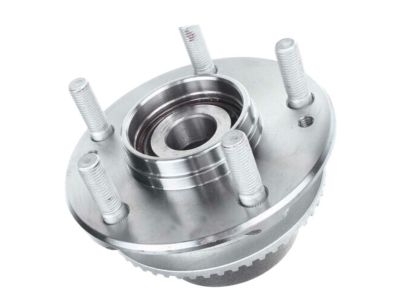
Kia Sedona Front Wheel Hub Assembly
Part Number: 0K55233060$101.87 MSRP: $147.00You Save: $45.13 (31%)Ships in 1-3 Business DaysKia Sedona Front Wheel Hub Assembly
Part Number: 517504D000$440.44 MSRP: $645.05You Save: $204.61 (32%)Ships in 1-3 Business DaysKia Sedona Rear Wheel Hub Assembly
Part Number: 0K55226060A$155.49 MSRP: $226.34You Save: $70.85 (32%)Ships in 1-3 Business DaysKia Sedona Rear Wheel Hub Assembly
Part Number: 0K55326060B$162.91 MSRP: $237.14You Save: $74.23 (32%)Ships in 1-3 Business Days
Kia Sedona Wheel Hub
If you're in search of top-notch, reasonably priced OEM Kia Sedona Wheel Hub, then you've found the perfect spot. Our website boasts an extensive inventory of Kia Sedona Wheel Hub, all priced at the market's premier price. Rest assured, every genuine part we offer comes with a warranty straight from the manufacturer.
Kia Sedona Wheel Hub Parts Questions & Experts Answers
- Q: How do you remove and install the rear hub assembly on a Kia Sedona?A:Loosen the rear wheel lug nuts, raise the rear of the vehicle, support it securely on jackstands, and remove the wheels. For 2005 and earlier models, remove the rear brake drum, pry the dust cap out of the hub using a screwdriver or hammer and chisel, straighten and remove the cotter pin from the cover set, and discard it, using a new one during reassembly. Remove the cover set, hub lock nut, and washer from the stub shaft, then pull the hub out slightly and push it back to force the outer bearing off the stub shaft for removal. Pull the hub assembly off the stub shaft, pry out the seal from the rear side of the hub while noting its installation direction, and remove the inner wheel bearing, also noting its facing direction. Pack the bearings with high-temperature wheel bearing grease, ensuring it is worked completely into the bearings, and apply a thin coat of grease to the stub shaft and bearing seats. Place a small quantity of grease inboard of each bearing race inside the hub, then insert the grease-packed inner bearing into the rear of the hub, applying a small amount of grease on the outboard side. Tap the new seal evenly into place over the inner bearing end of the hub until flush, then carefully place the hub assembly onto the stub shaft, pushing the grease-packed outer bearing into position. Install the washer and lock nut, tightening the lock nut to the lower torque value, then place the cover set over the hub lock nut and install the cotter pin, adjusting the lock nut if necessary to align the slots. Bend the cotter pin ends flat against the cover set and lock nut, cutting off any excess length, then install the dust cap, tapping it into place without denting it, followed by the brake drum, wheel, and lug nuts. Lower the vehicle and tighten the lug nuts to the specified torque. For 2006 and later models, remove the brake disc, rear wheel speed sensor if equipped, and parking brake cable bracket fasteners, then pry the dust cap out of the hub, un-stake the hub nut, loosen and remove it, and discard it along with the tang-washer and hub assembly from the stub shaft. Due to the special tools and expertise required for pressing the hub bearings, this task should be performed by a professional shop. Installation is the reverse of removal, ensuring the new hub nut is tightened to the specified torque and the collar is staked onto the slot in the stub axle. Finally, install the dust cap, tapping it into place without denting it, followed by the wheel and lug nuts, then lower the vehicle and tighten the lug nuts to the specified torque.
Related Kia Sedona Parts
Browse by Year
2021 Wheel Hub 2020 Wheel Hub 2019 Wheel Hub 2018 Wheel Hub 2017 Wheel Hub 2016 Wheel Hub 2015 Wheel Hub 2014 Wheel Hub 2013 Wheel Hub 2012 Wheel Hub 2011 Wheel Hub 2010 Wheel Hub 2009 Wheel Hub 2008 Wheel Hub 2007 Wheel Hub 2006 Wheel Hub 2005 Wheel Hub 2004 Wheel Hub 2003 Wheel Hub 2002 Wheel Hub 2001 Wheel Hub
