×
- Hello
- Login or Register
- Quick Links
- Live Chat
- Track Order
- Parts Availability
- RMA
- Help Center
- Contact Us
- Shop for
- Kia Parts
- Kia Accessories

My Garage
My Account
Cart
Genuine Kia Sorento Trailing Arm
Trailing Control Arm- Select Vehicle by Model
- Select Vehicle by VIN
Select Vehicle by Model
orMake
Model
Year
Select Vehicle by VIN
For the most accurate results, select vehicle by your VIN (Vehicle Identification Number).
8 Trailing Arms found

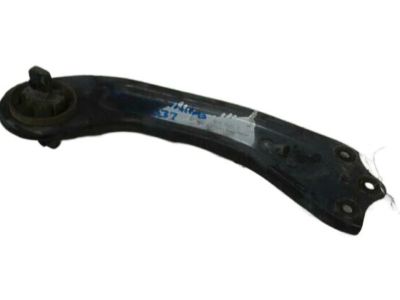
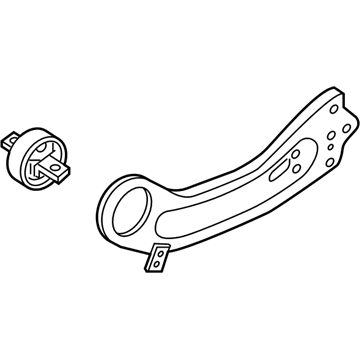
Kia Sorento Arm Assembly-Rear Trailing
Part Number: 55280C5050$192.12 MSRP: $274.85You Save: $82.73 (31%)Ships in 1-3 Business Days
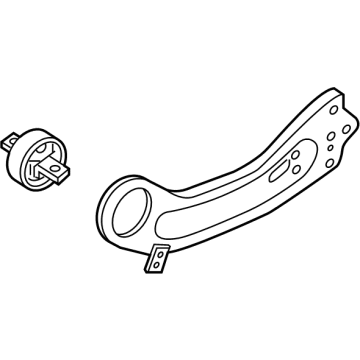
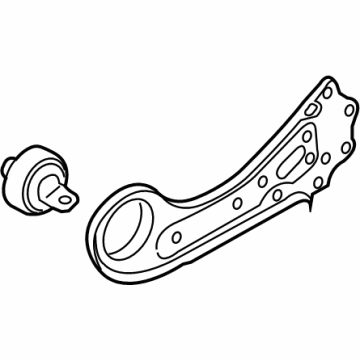
Kia Sorento Arm Assembly-Rear Trailing
Part Number: 55270C5050$194.02 MSRP: $277.57You Save: $83.55 (31%)Ships in 1-2 Business DaysKia Sorento Arm Assembly-Rr Trailing
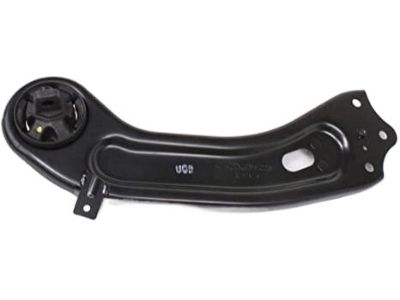
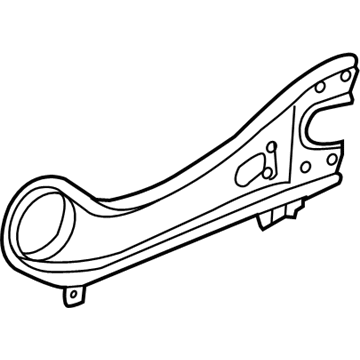
Part Number: 55271P2000$125.90 MSRP: $180.12You Save: $54.22 (31%)Ships in 1-3 Business DaysKia Sorento Arm Assembly-Rear Trailing
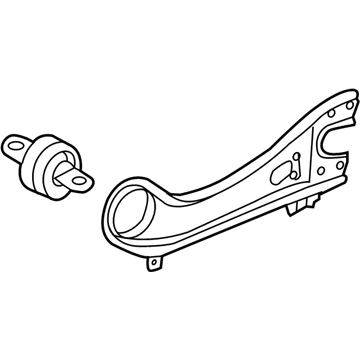
Part Number: 552702P250$168.44 MSRP: $240.97You Save: $72.53 (31%)Ships in 1-3 Business DaysKia Sorento Arm Assembly-Rear Trailing
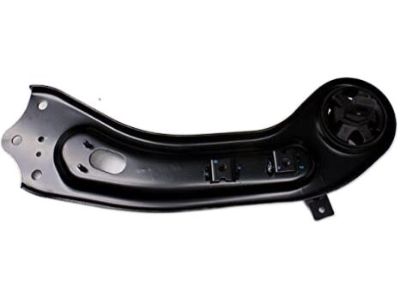
Part Number: 552802P450$168.44 MSRP: $240.97You Save: $72.53 (31%)Ships in 1-3 Business DaysKia Sorento Arm Assembly-Rear Trailing
Part Number: 552802P250$166.76 MSRP: $238.57You Save: $71.81 (31%)Ships in 1-3 Business DaysKia Sorento Arm Assembly-Rear Trailing
Part Number: 552702P450$168.44 MSRP: $240.97You Save: $72.53 (31%)Ships in 1-3 Business DaysKia Sorento Arm Assembly-Rr Trailing
Part Number: 55270P2000$125.90 MSRP: $180.12You Save: $54.22 (31%)Ships in 1-3 Business Days
Kia Sorento Trailing Arm
If you're in search of top-notch, reasonably priced OEM Kia Sorento Trailing Arm, then you've found the perfect spot. Our website boasts an extensive inventory of Kia Sorento Trailing Arm, all priced at the market's premier price. Rest assured, every genuine part we offer comes with a warranty straight from the manufacturer.
Kia Sorento Trailing Arm Parts Questions & Experts Answers
- Q: How do you remove and install the rear Control Arm and Trailing Arm for Kia Sorento?A:To service the 2009 and earlier mode models, start by setting the rear wheel nuts, lifting the rear part of the car and placing it on jackstands before finally removing the rear wheel. Position a floor jack under the rear axle near the trailing arm that is to be removed, then unbolt the nuts and pivot bolts from both ends of the arm and then remove it. With regard to the bushings check for signs of wear and corrosion, for replacement, take your car to a repair shop and have the old bushings removed and replaced with new ones. After removal, reinstatement is in reverse starting with the wheels where all fasteners and lug nuts are tightened to the right torque. For any and all rear suspension arms, all bolts should be basically torqued, suspenders adjusted to standard height, and bolts tightened all of the way. When working with upper links or lateral control rods, support the rear axle using a floor jack on the differential, then proceed to take off the nuts and the bolts of the pivot, and then disconnect the links or rods of the vehicle. Again, check the bushings and replenish it if used up, afterward reinstall and properly torque tighten. Again, for 2011 and the subsequent models, begin in the same manner by using a wrench to loosen the rear wheel lug nuts and then jack up the vehicle. Remove the subframe nuts and bolts, then let down the subframe, cotter pin and castle nut will have to be removed from the upper control with respect to ball joint stud. Leverage the upper control arm and check on the bushings ; in case they are worn out you replace them. The procedures applied while reinstalling the parts should be the reverse of those that lead to the issue, all screws that were loosened ought to be tightened back. On the lower control arm, you have to first unscrew and take off the coil spring, identify the position of the adjuster cam by making a mark, and then unplug the arm from the vehicle and check on the bushing. Reinstall in the same manner too. For the lateral control rod, place the lower control arm in a Vanguard lift and while supporting the rod, removed the castle nut, pulled the rod away from the knuckle and took it out of the subframe after noting the position of the adjuster cam. Look at the bushing for wear and replace it if needed; replace all bolts, screws, nuts and tighten securely. Lastly, for the trailing arm, induce the rear support, unbolt the trailing arm to the rear knuckle, pulling off the bushing, plug the assembly back into the position, and tighten all bolts to their proper torque.
