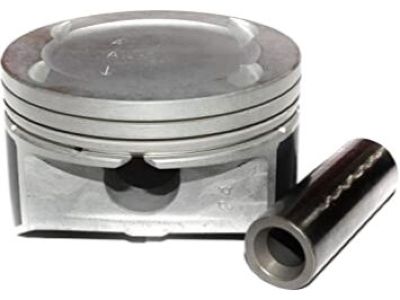
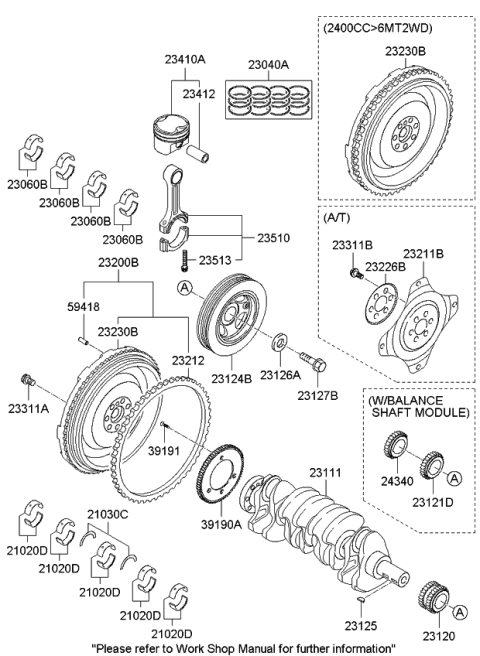
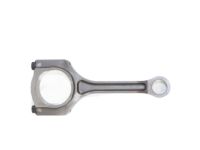
Before disassembling the piston and connecting rods, the cylinder head, oil pan, upper oil pan together with the balance shafts on the four-cylinder engines have to be unwired. First, look to have to decide if there is any ridge which is created at the upper limit of the ring travel within every cylinder and if indeed it is, then file it off with the help of a ridge reamer to avoid the breakage of the piston. After the centreline of the ridge is ground off, rotate the engine so that the crankshaft is upright and with the help of feeler gagues, check the amount of end float of the connecting rod; if it is more than the service limit, then new connecting rods may be required. At this stage, remove some signs on the connecting rods and caps for identification purposes; remove the connecting rod cap and the bearing insert by gently unbolting it, while avoiding the dropping of the insert. Descend the connecting rod/piston assembly by pushing it through the top of the engine, using a wooden or plastic hammer handle on the connective rod without causing further damages to crankshaft. If some forms of resistance are detected, check the guarantees of the ridge's full removal. Do the same for rest of the cylinders, after which reconnect the caps and bearing inserts back in to their respective rods, it's better to retain the old inserts, till the time reassembly lest the rod cap crack. In piston ring installation some of the features that should be checked are the ring end gap and the piston ring side clearance. Disassemble and unstack the piston/connecting rod assemblies, new ring sets, then slide top ring into the cylinder #1 positioned with the front end up and indexed at TDC and using feeler gauges, set end gap to spec. Place the oil control ring, followed by the middle and finally top rings; the appropriate orientation of these rings should be noted. Before installing the bore, the cylinder walls should be cleaned, the upper edge of each bore cylinder should be beveled and the crankshaft should be fixed. Take off the cap on the connecting rod no. 1, degrease the bearing journals, and fit new bearing inserts with no oil. Align the gaps in the piston ring to the piston, then apply oil on the piston and the rings, and engage the help of the piston ring compressor to push the piston into the cylinder. After a proper installation of the Plastigage beneath the bearing and the rod cap, as well as tightening of the bolts to the prescribed torque, it is possible to compare the width of the crushed Plastigage in order to check the needed oil clearance of the connecting rod bearing. In case the clearance is not as desired confirm the state of the bearing inserts and the diameter of the journal. Once this is done, apply a layer of grease or assembly lube on both bearing faces and slide in the connecting rod back into its position, fasten the rod cap and its screws. Proceed through the same steps for the other assemblies, making certain they are clean and properly oriented. Indeed, turn the crankshaft clockwise and counter clockwise to look for any binding then recheck the conrod end float and re-align as required.
Posted by KiaPartsNow Specialist 
