×
- Hello
- Login or Register
- Quick Links
- Live Chat
- Track Order
- Parts Availability
- RMA
- Help Center
- Contact Us
- Shop for
- Kia Parts
- Kia Accessories

My Garage
My Account
Cart
Genuine Kia Optima Door Handle
Inside Door Handle- Select Vehicle by Model
- Select Vehicle by VIN
Select Vehicle by Model
orMake
Model
Year
Select Vehicle by VIN
For the most accurate results, select vehicle by your VIN (Vehicle Identification Number).
113 Door Handles found

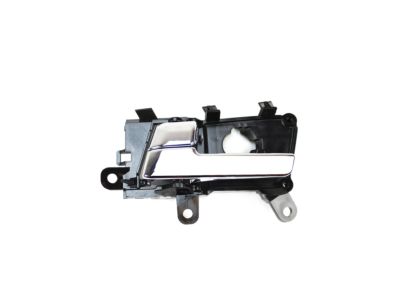
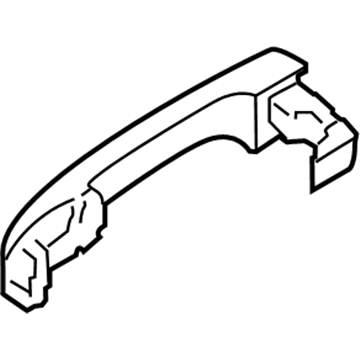
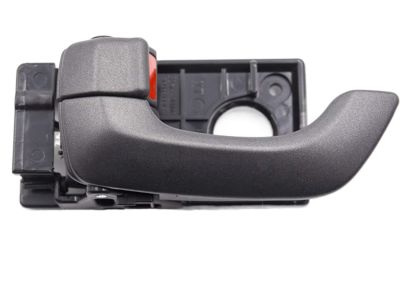
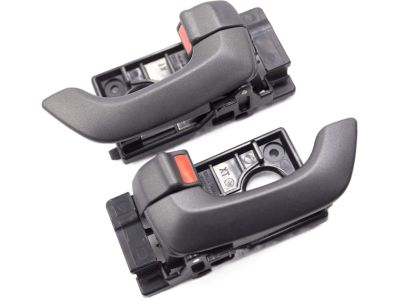
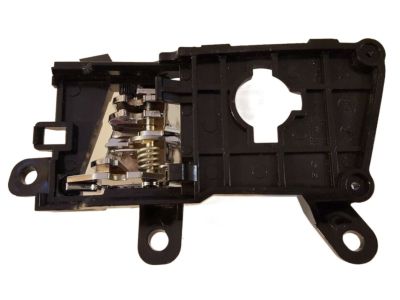
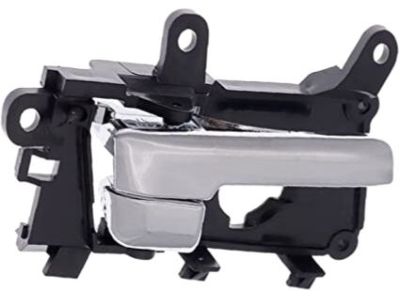
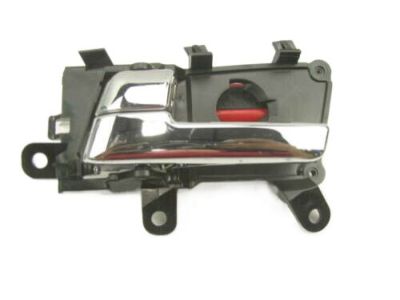
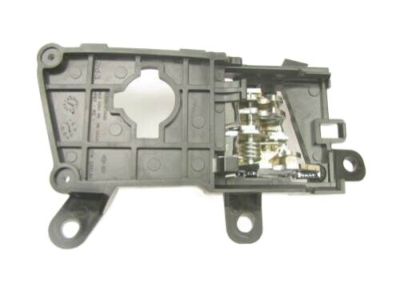
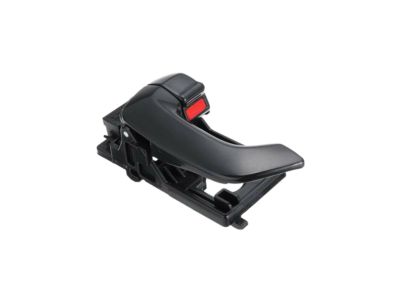
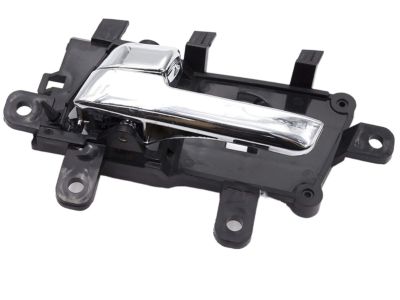
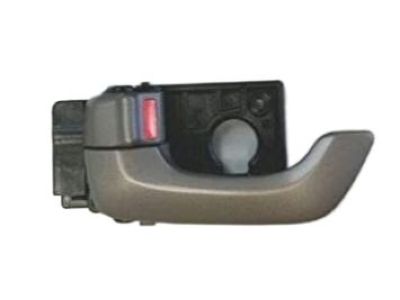
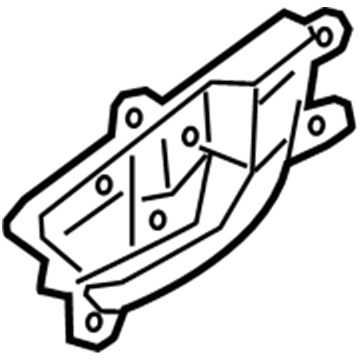
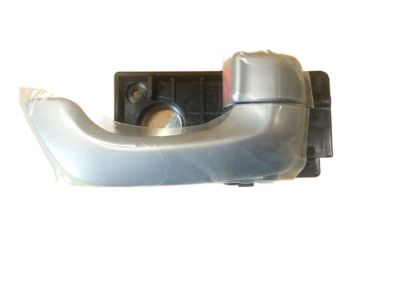
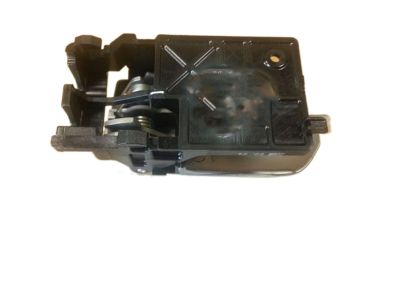
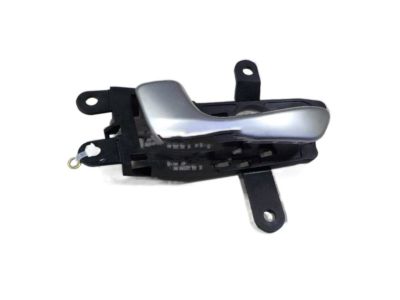
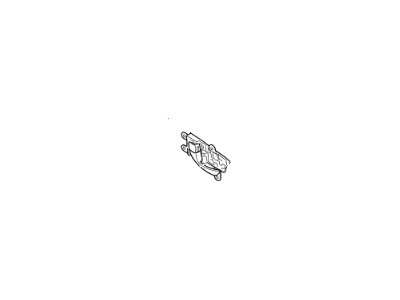
Kia Optima Front Door Inside Handle Assembly, Left
Part Number: 826102T010$30.20 MSRP: $42.84You Save: $12.64 (30%)Ships in 1-3 Business Days
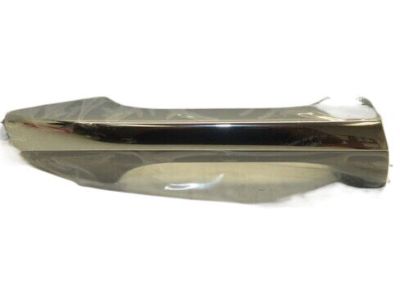
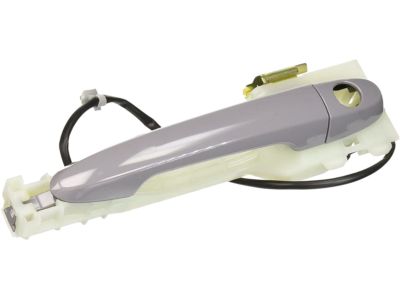
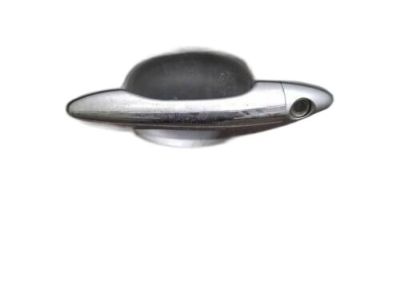
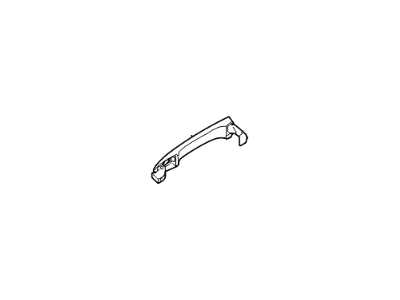
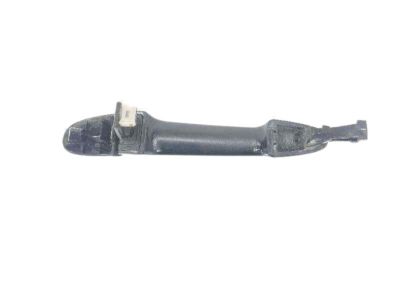
Kia Optima Door Outside Handle Assembly, Right
Part Number: 82661D5000$44.25 MSRP: $62.77You Save: $18.52 (30%)Ships in 1-3 Business Days
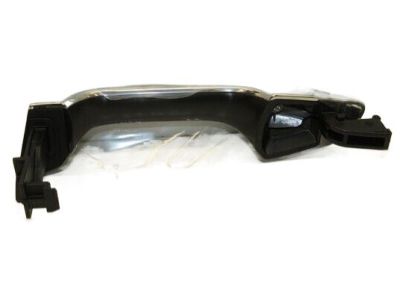
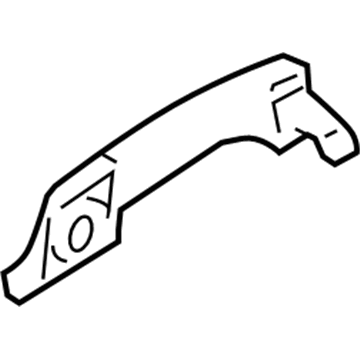
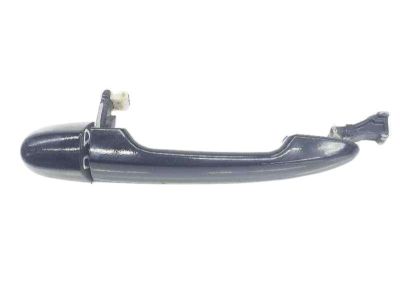
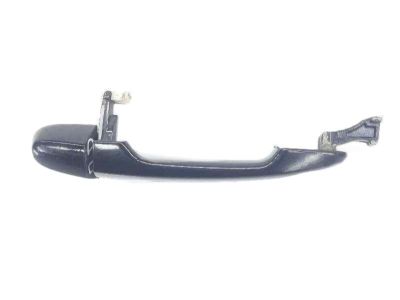
Kia Optima Door Outside Handle Assembly, Left
Part Number: 82651D5000$45.95 MSRP: $65.19You Save: $19.24 (30%)Ships in 1-3 Business Days
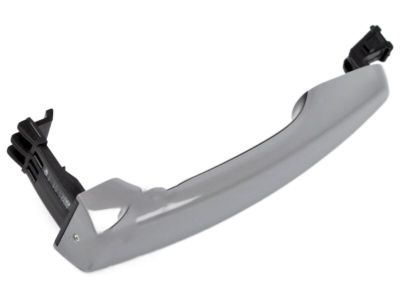
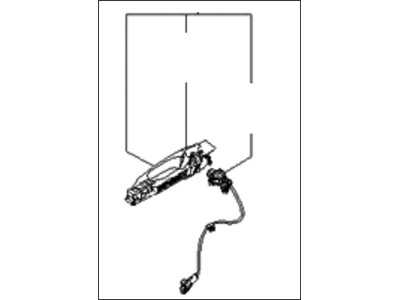
Kia Optima Front Door Outside Handle Assembly, Left
Part Number: 826502G000$62.77 MSRP: $89.04You Save: $26.27 (30%)Ships in 1-2 Business Days
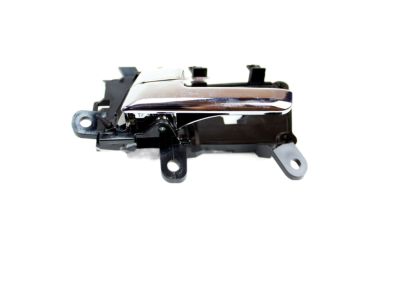
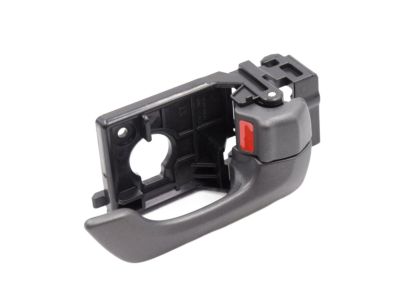
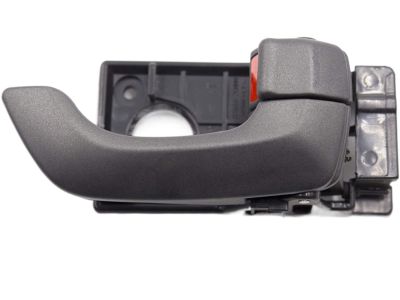
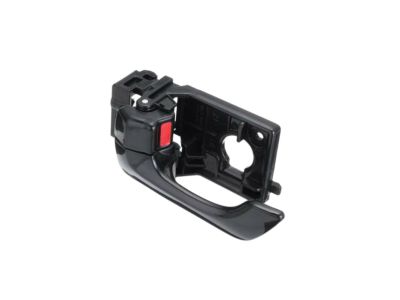
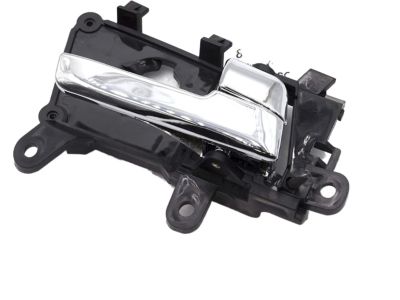
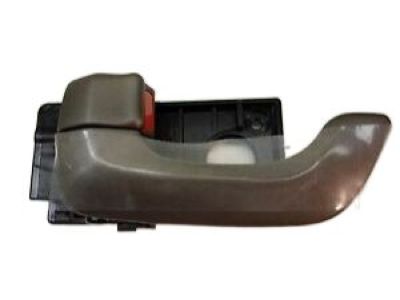
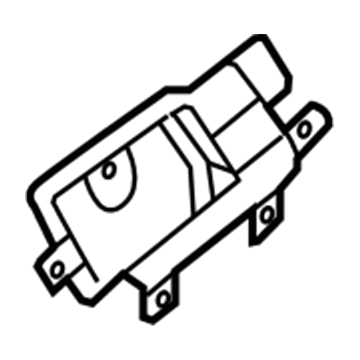
Kia Optima Front Door Inside Handle Assembly, Right
Part Number: 826202G000K2$30.41 MSRP: $43.14You Save: $12.73 (30%)Ships in 1 Business Day
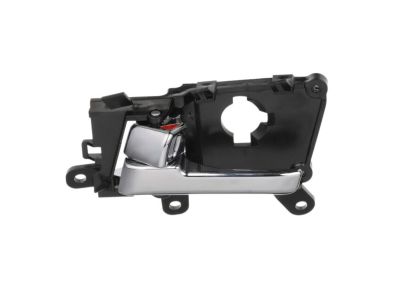
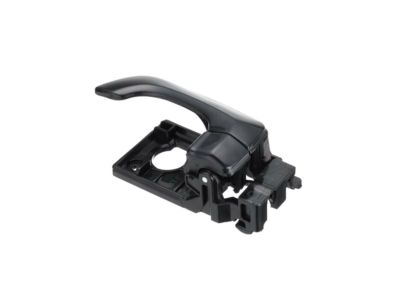
Kia Optima Front Door Inside Handle Assembly, Right
Part Number: 826202T000$26.02 MSRP: $36.60You Save: $10.58 (29%)
Kia Optima Door Outside Handle Assembly
Part Number: 826512T011$36.92 MSRP: $52.37You Save: $15.45 (30%)Ships in 1-3 Business Days
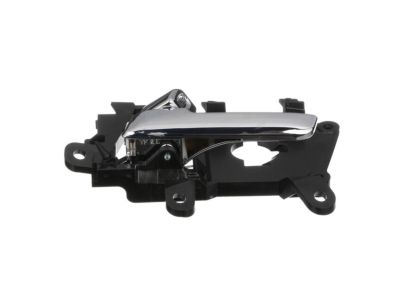
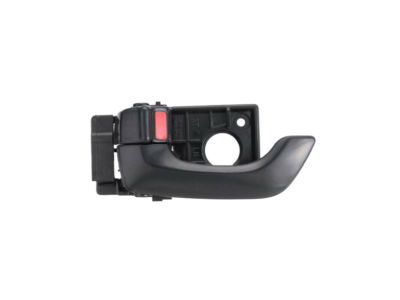
Kia Optima Front Door Inside Handle Assembly, Left
Part Number: 826102T000$26.02 MSRP: $36.60You Save: $10.58 (29%)Ships in 1-3 Business Days
Kia Optima Front Door Inside Handle Assembly, Left
Part Number: 826102G000K2$29.93 MSRP: $42.45You Save: $12.52 (30%)Ships in 1 Business Day
Kia Optima Front Door Inside Handle Assembly, Right
Part Number: 826202T010$30.20 MSRP: $42.84You Save: $12.64 (30%)Ships in 1-3 Business Days
Kia Optima Front Door Inside Handle Assembly, Left
Part Number: 826102G000K1$32.99 MSRP: $46.80You Save: $13.81 (30%)Ships in 1-3 Business Days
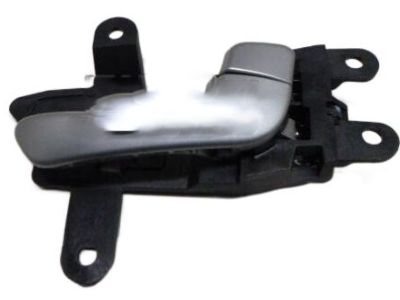
Kia Optima Rear Door Inside Handle Assembly, Right
Part Number: 83620D5000KA1$33.42 MSRP: $47.40You Save: $13.98 (30%)Ships in 1-3 Business Days
Kia Optima Front Door Inside Handle Assembly, Right
Part Number: 826202G010$32.50 MSRP: $46.10You Save: $13.60 (30%)Ships in 1-3 Business Days
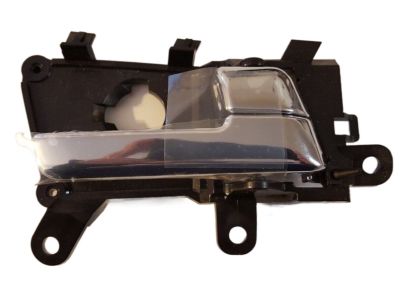
Kia Optima Front Door Inside Handle Assembly, Left
Part Number: 82610D4030SA1$66.95 MSRP: $91.47You Save: $24.52 (27%)Ships in 1-3 Business DaysKia Optima Door Outside Handle Assembly, Right
Part Number: 82661D5210$170.29 MSRP: $243.62You Save: $73.33 (31%)Ships in 1-2 Business DaysKia Optima Door Outside Handle Assembly
Part Number: 826514C010$38.27 MSRP: $54.29You Save: $16.02 (30%)Ships in 1-3 Business DaysKia Optima Rear Door Inside Handle Assembly, Left
Part Number: 836102G010$32.69 MSRP: $46.37You Save: $13.68 (30%)Ships in 1-3 Business DaysKia Optima Rear Door Outside Handle Assembly, Right
Part Number: 836202T010$32.12 MSRP: $45.57You Save: $13.45 (30%)Ships in 1-3 Business DaysKia Optima Front Door Inside Handle Assembly, Left
Part Number: 82610D5000KA1$69.27 MSRP: $98.25You Save: $28.98 (30%)Ships in 1-3 Business Days
| Page 1 of 6 |Next >
1-20 of 113 Results
Kia Optima Door Handle
If you're in search of top-notch, reasonably priced OEM Kia Optima Door Handle, then you've found the perfect spot. Our website boasts an extensive inventory of Kia Optima Door Handle, all priced at the market's premier price. Rest assured, every genuine part we offer comes with a warranty straight from the manufacturer.
Kia Optima Door Handle Parts Questions & Experts Answers
- Q: What precautions should be taken and what steps are involved in removing and installing door handles,Lock Cylinder and latches for Kia Optima?A:Wear gloves when working inside the door openings to protect against cuts from sharp metal edges. To remove the inside door handle, first take off the door trim panel, then disconnect the lock rods from the inside handle, and remove the mounting screws to take out the handle, with installation being the reverse of removal. For the door latch on 2001 through 2006 models, remove the door trim panel and water shield, disengage the rods from the inside handle and lock cylinder by unsnapping the plastic clips, disconnect the electrical connectors from the latch, and remove the screws securing the latch to the door before taking out the latch assembly through the access opening, with installation being the reverse of removal. For 2006.5 and later models, the process involves removing the door trim panel, window glass, inside door handle, rear window glass channel, and door module assembly, unbolting and detaching the latch from the door module, with installation being the reverse of removal. When dealing with the outside handle and door lock cylinder, take care not to scratch the paint on the outside of the door; applying wide masking tape around the handle opening can help avoid scratches. For 2001 through 2006 models, remove the door trim panel and water shield, disengage the plastic clips securing the door handle-to-latch rod and lock cylinder-to-latch rod, disconnect the electrical connector from the lock cylinder, and remove the mounting bolts to take out the outside handle/cylinder assembly, with installation being the reverse of removal. For 2006.5 and later models, remove the access hole trim cap, take out the fastener at the rear of the handle, slide the handle assembly to the rear, and pull it out of its mounting hole in the door, with installation being the reverse of removal.
Related Kia Optima Parts
Browse by Year
2020 Door Handle 2019 Door Handle 2018 Door Handle 2017 Door Handle 2016 Door Handle 2015 Door Handle 2014 Door Handle 2013 Door Handle 2012 Door Handle 2011 Door Handle 2010 Door Handle 2009 Door Handle 2008 Door Handle 2007 Door Handle 2006 Door Handle 2005 Door Handle 2004 Door Handle 2003 Door Handle 2002 Door Handle 2001 Door Handle 2000 Door Handle
