×
- Live Chat
- 1-888-958-2959

My Garage
My Account
Cart
Genuine Kia Sportage Hood Latch
Engine Hood Latch- Select Vehicle by Model
- Select Vehicle by VIN
Select Vehicle by Model
orMake
Model
Year
Select Vehicle by VIN
For the most accurate results, select vehicle by your VIN (Vehicle Identification Number).
8 Hood Latches found
Kia Sportage Hood Latch Assembly
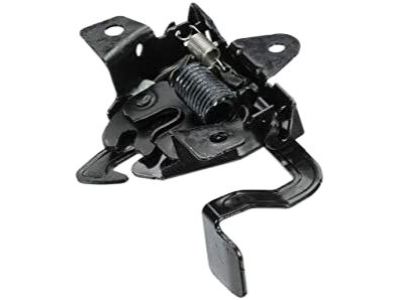
Part Number: 811301F000$19.42 MSRP: $27.32You Save: $7.90 (29%)Ships in 1-3 Business DaysKia Sportage Hood Latch Assembly
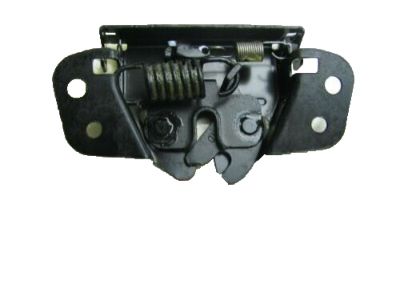
Part Number: 811303W000$20.74 MSRP: $29.17You Save: $8.43 (29%)Ships in 1 Business DayKia Sportage Hood Latch Assembly
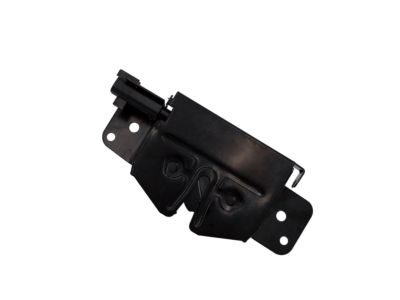
Part Number: 81130D9000$60.40 MSRP: $85.67You Save: $25.27 (30%)Ships in 1-3 Business DaysKia Sportage LATCH ASSY-HOOD
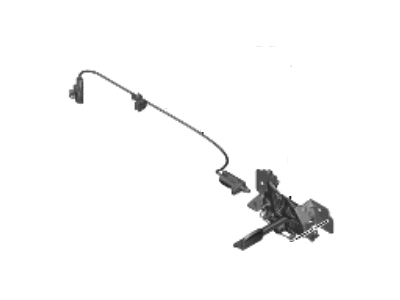
Part Number: 81130P1010$90.03 MSRP: $127.70You Save: $37.67 (30%)Ships in 1-3 Business Days
Kia Sportage Hood Latch
If you're in search of top-notch, reasonably priced OEM Kia Sportage Hood Latch, then you've found the perfect spot. Our website boasts an extensive inventory of Kia Sportage Hood Latch, all priced at the market's premier price. Rest assured, every genuine part we offer comes with a warranty straight from the manufacturer.
Kia Sportage Hood Latch Parts Questions & Experts Answers
- Q: How do you remove and install the hood release cable and Hood Latch for the Kia Sportage?A: For the SEPHIA AND SPECTRA models, begin by removing the radiator grille opening cover if present, then unscrew the latch retaining bolts and nut from the radiator support to take out the latch. Disconnect the hood release cable by disengaging it from the latch and removing the cable end from the slotted portion of the latch mechanism, followed by reversing the steps for installation. For the cable, first disconnect it from the latch assembly and detach it from any retaining clips on the radiator support. Attach a piece of wire or string to the latch end of the cable, loosen the left front wheel lug nuts, raise the vehicle securely on jackstands, and remove the wheel. Next, remove the left inner Fender splash shield and, from the passenger compartment, detach the hood release lever from the left side lower trim panel. Pull the grommet through the body and bring the cable into the passenger compartment, ensuring the new cable has a grommet attached, then remove the old cable from the wire and attach the wire to the new cable. Guide the cable through the retaining clips under the fender and complete the installation by reversing the removal steps, ensuring the grommet is seated completely in the body. For the SPORTAGE models, start by removing the radiator/grille cover fasteners and the cover itself, then take out the latch cover bolts and the latch, disengaging the hood release cable from the latch. For the cable, disengage it from the latch, remove the hood release handle mounting screws inside the vehicle, and take out the hood release handle while detaching the cable. In the engine compartment, trace the release cable's route, detach all cable clips, and pull the cable through the firewall, completing the installation by reversing the removal steps and ensuring the grommet is securely seated where the cable passes through the firewall.
Related Kia Sportage Parts
Browse by Year
2024 Hood Latch 2023 Hood Latch 2022 Hood Latch 2021 Hood Latch 2020 Hood Latch 2019 Hood Latch 2018 Hood Latch 2017 Hood Latch 2016 Hood Latch 2015 Hood Latch 2014 Hood Latch 2013 Hood Latch 2012 Hood Latch 2011 Hood Latch 2010 Hood Latch 2009 Hood Latch 2008 Hood Latch 2007 Hood Latch 2006 Hood Latch 2005 Hood Latch 2002 Hood Latch 2001 Hood Latch 2000 Hood Latch 1999 Hood Latch 1998 Hood Latch 1997 Hood Latch


